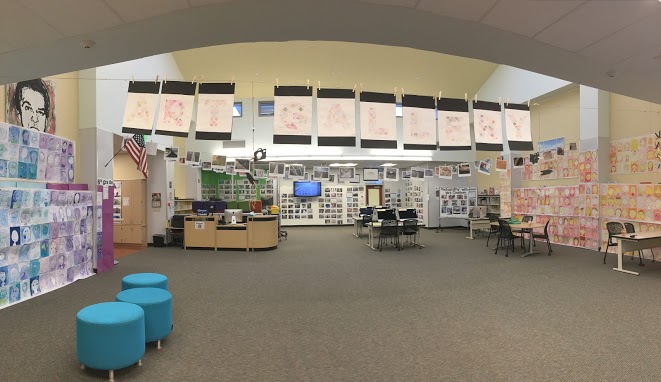
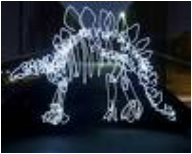
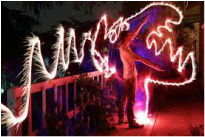
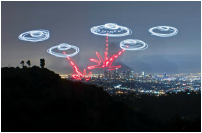
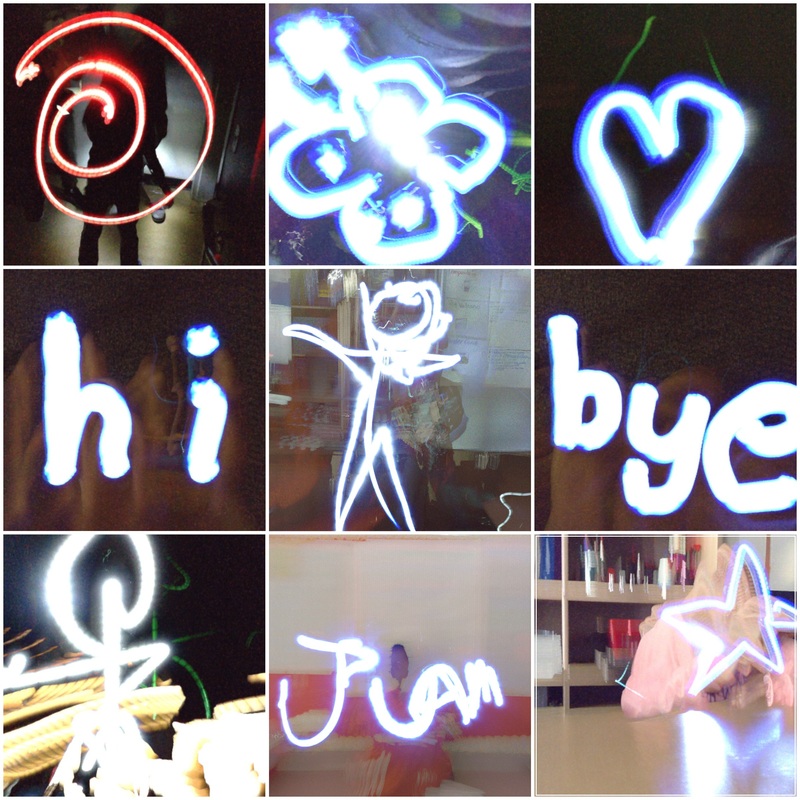
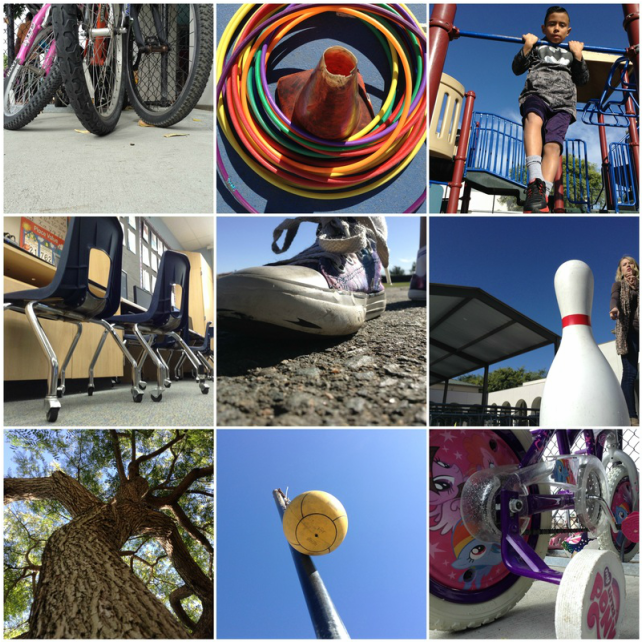
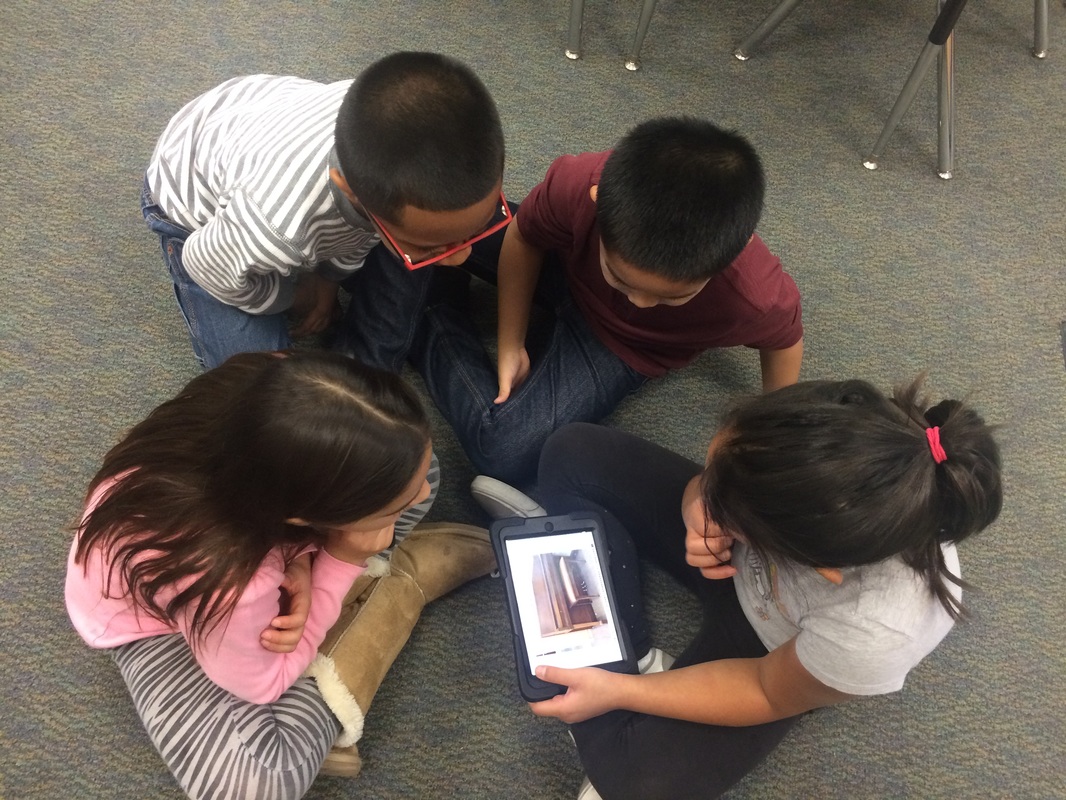
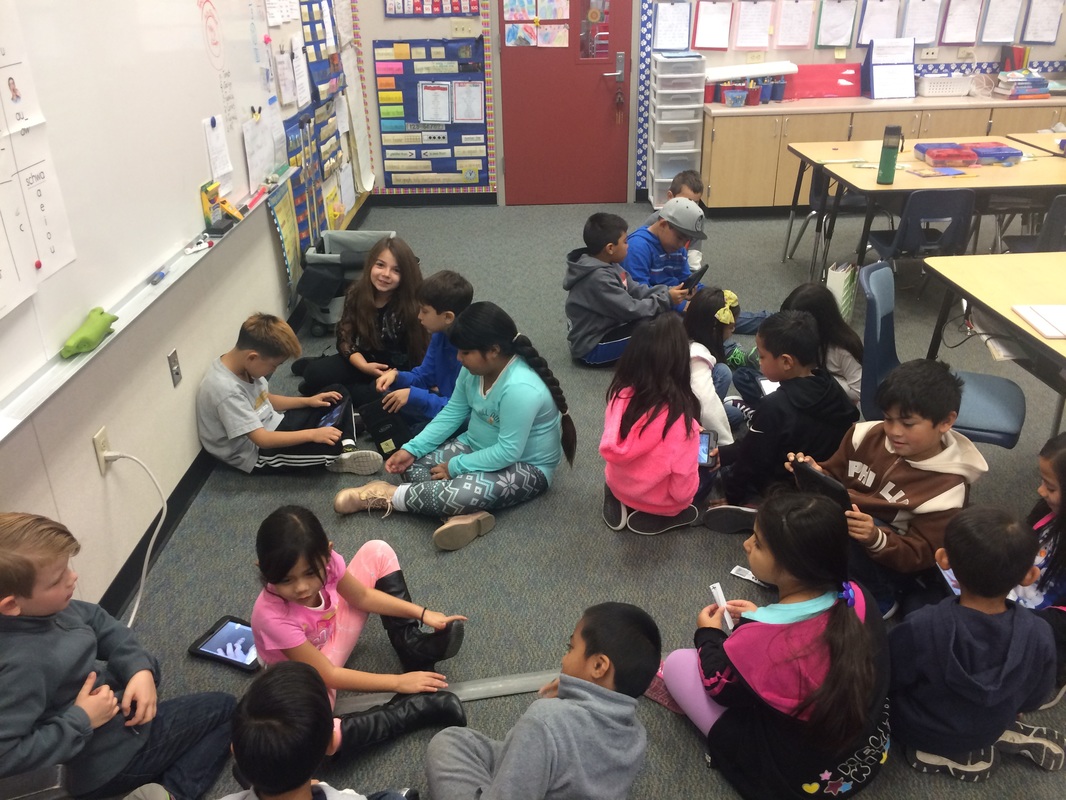
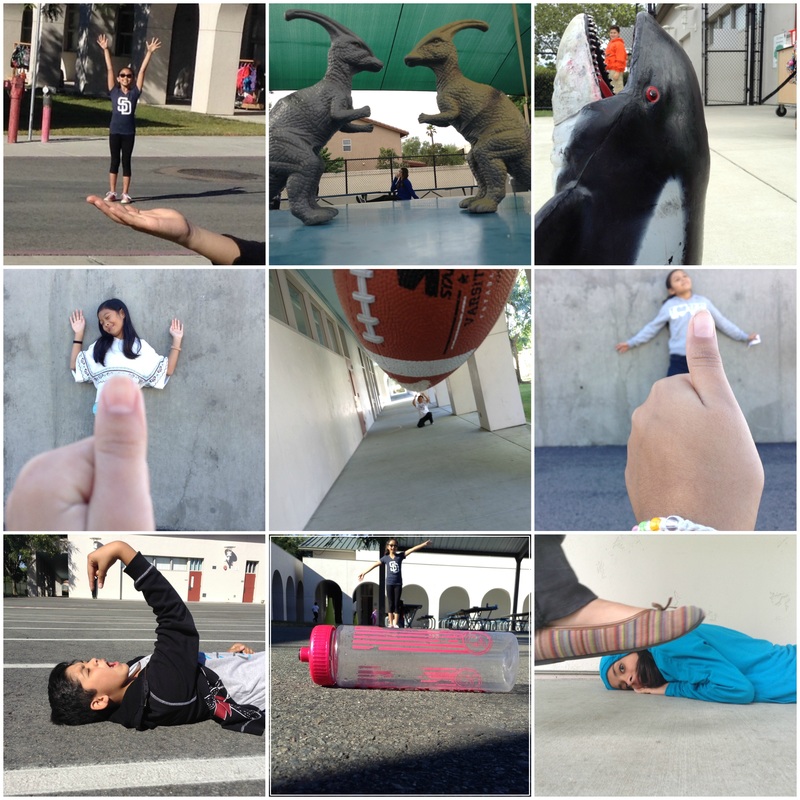
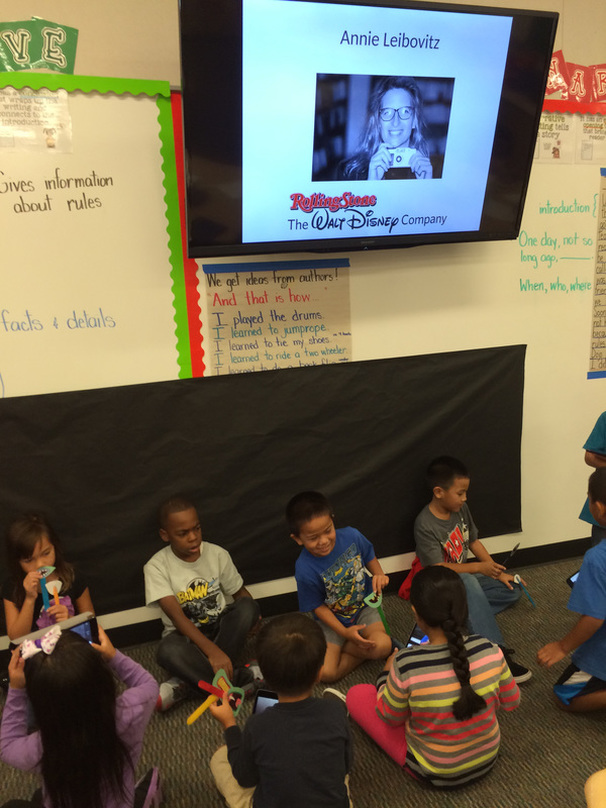
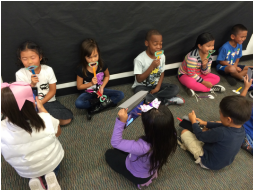
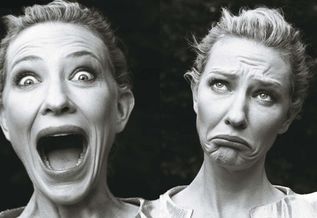
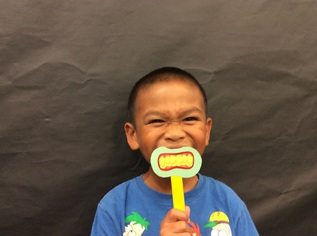
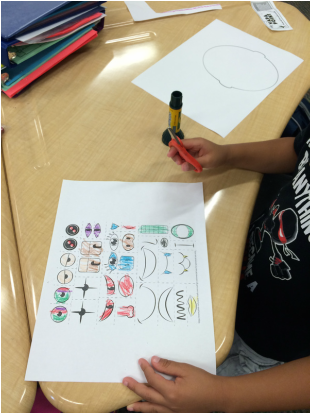
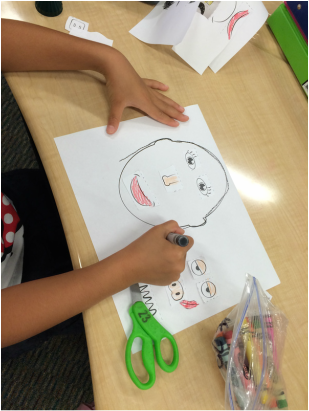
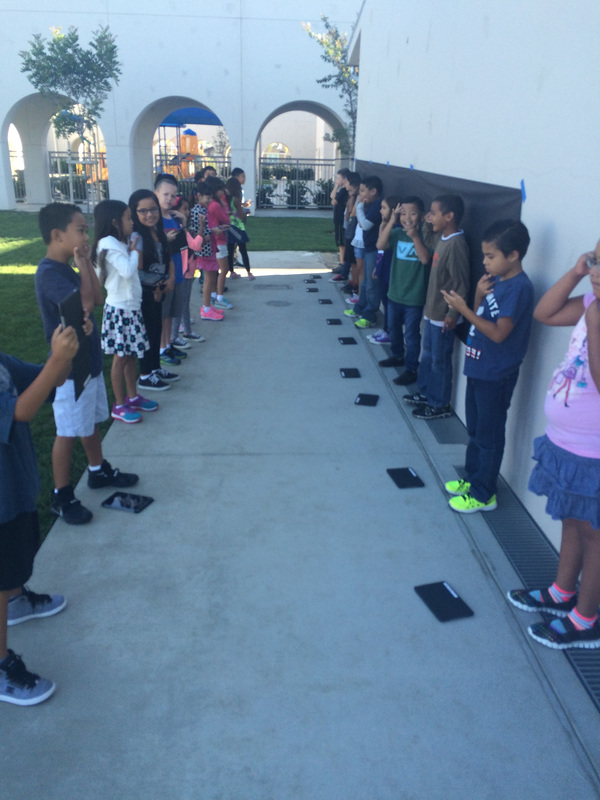
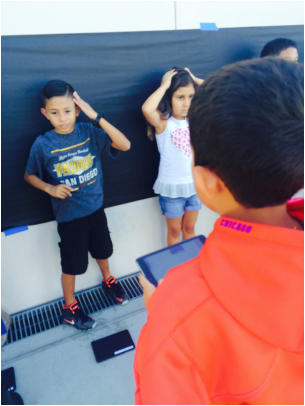
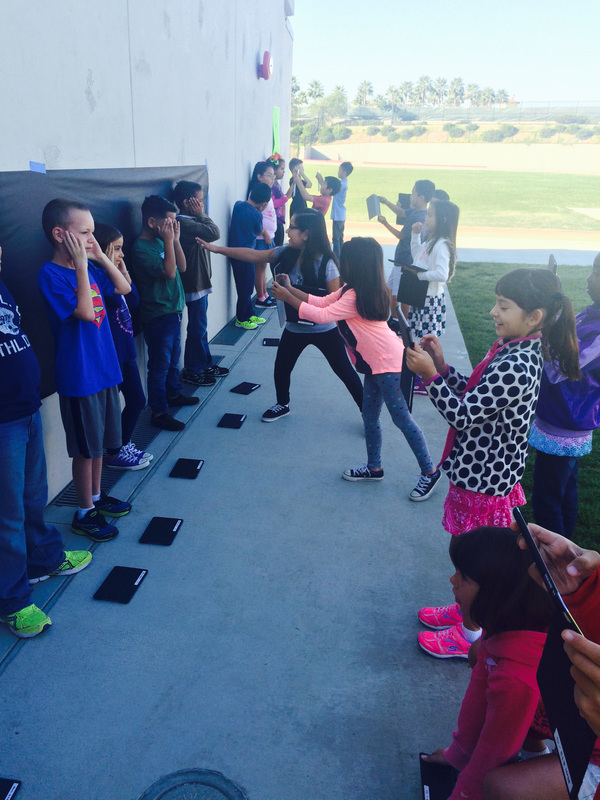
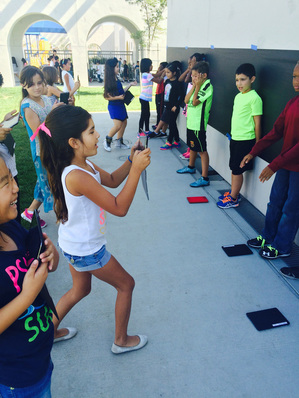
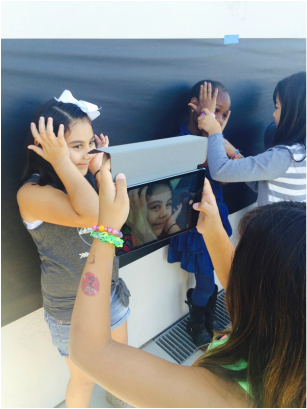
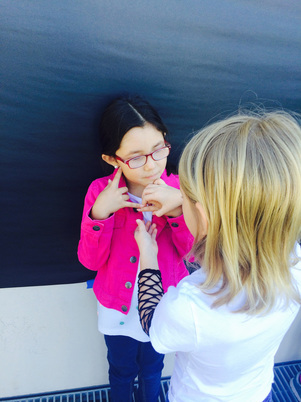
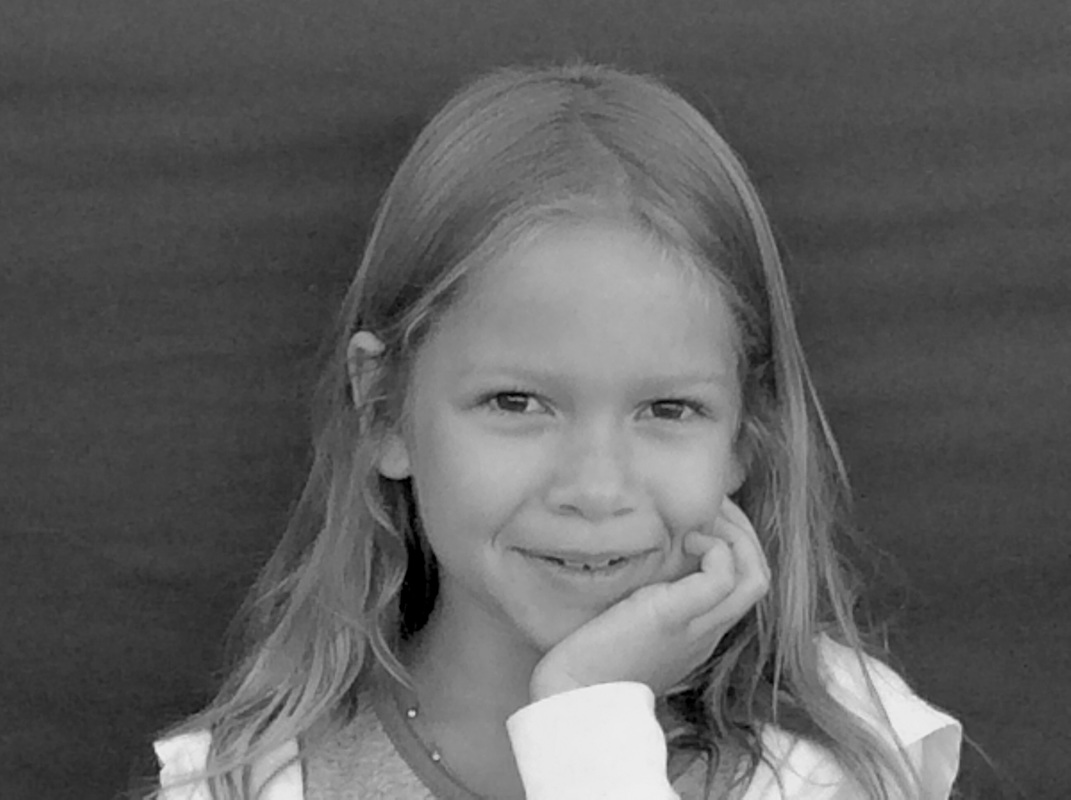
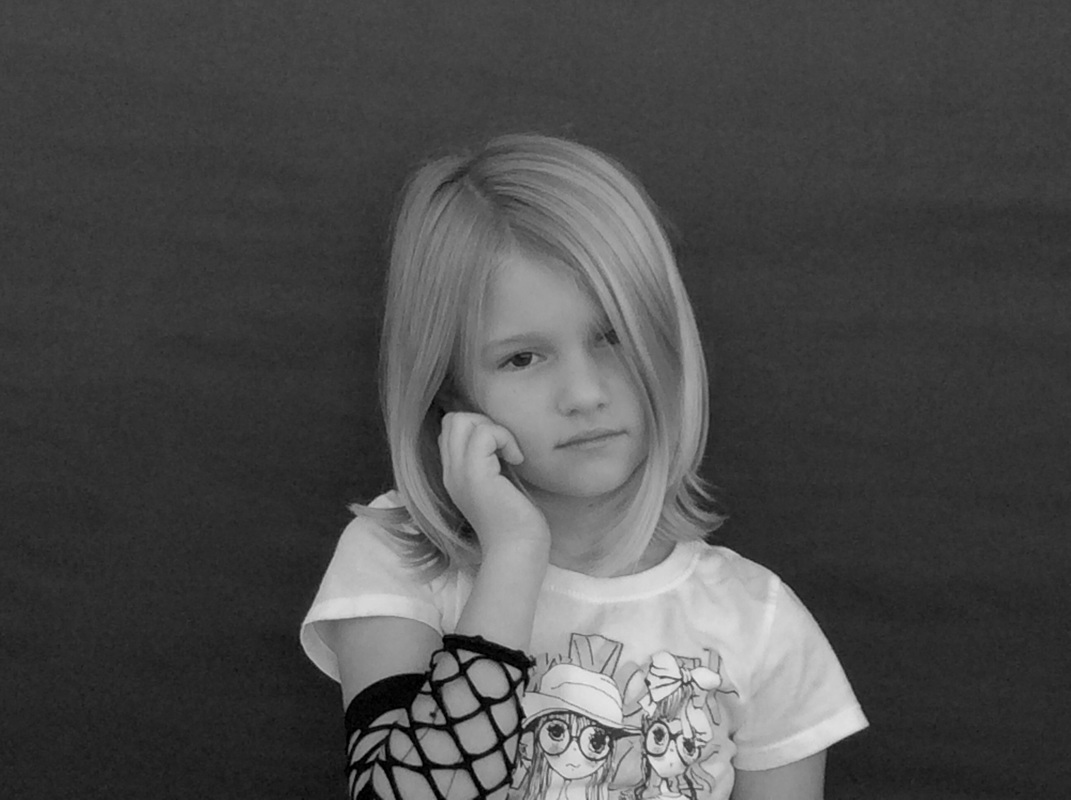
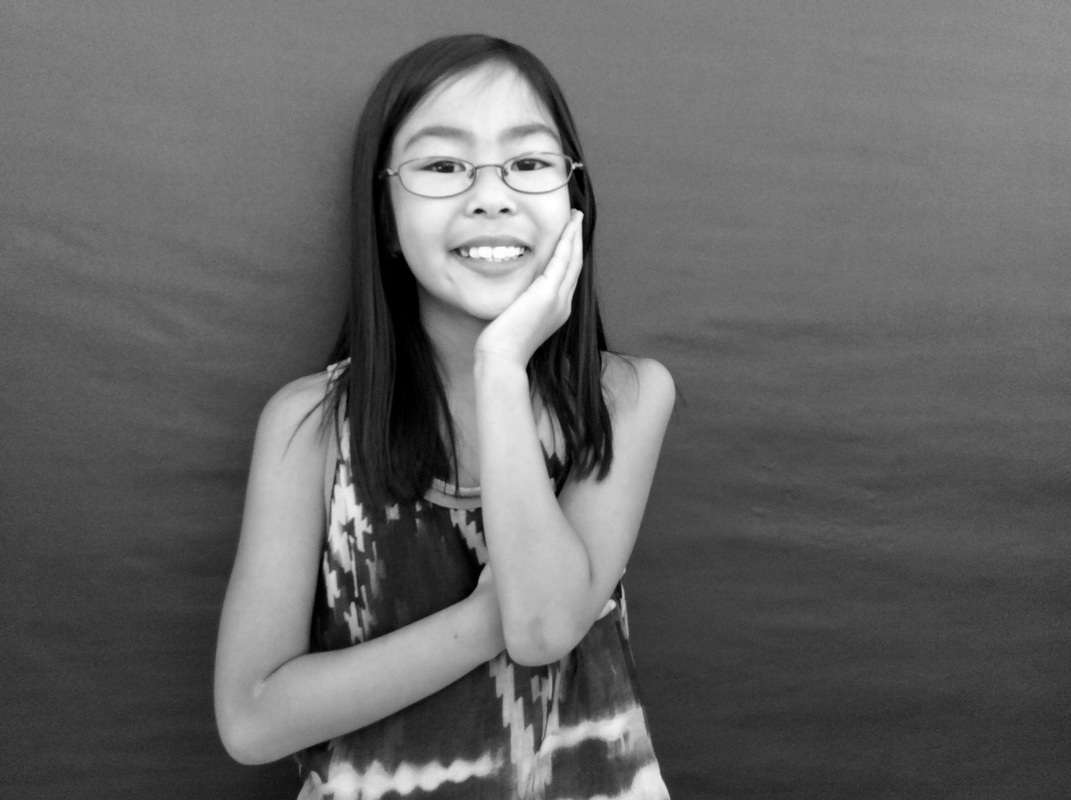
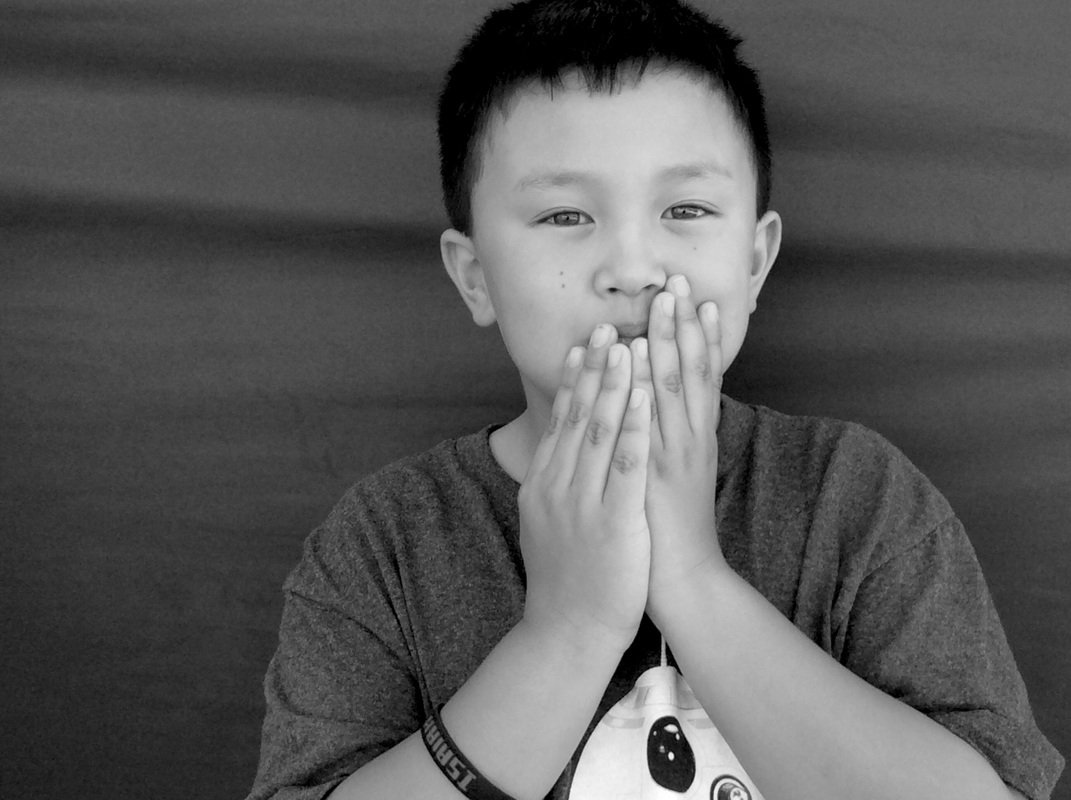
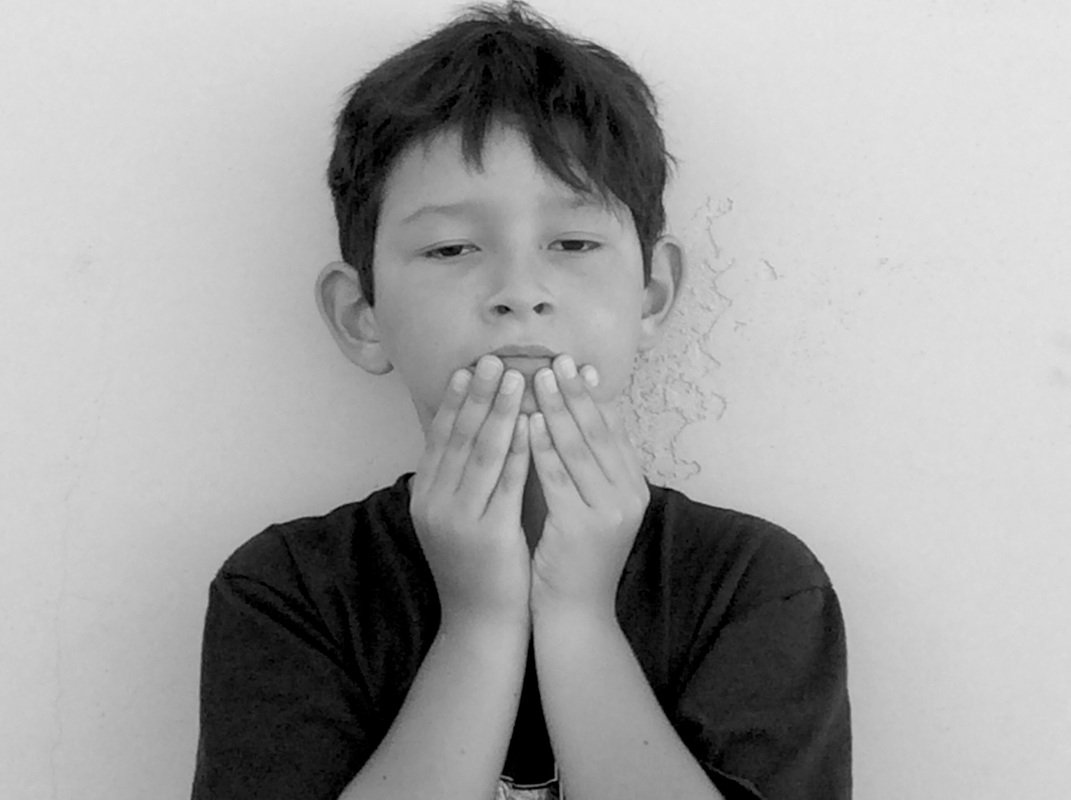
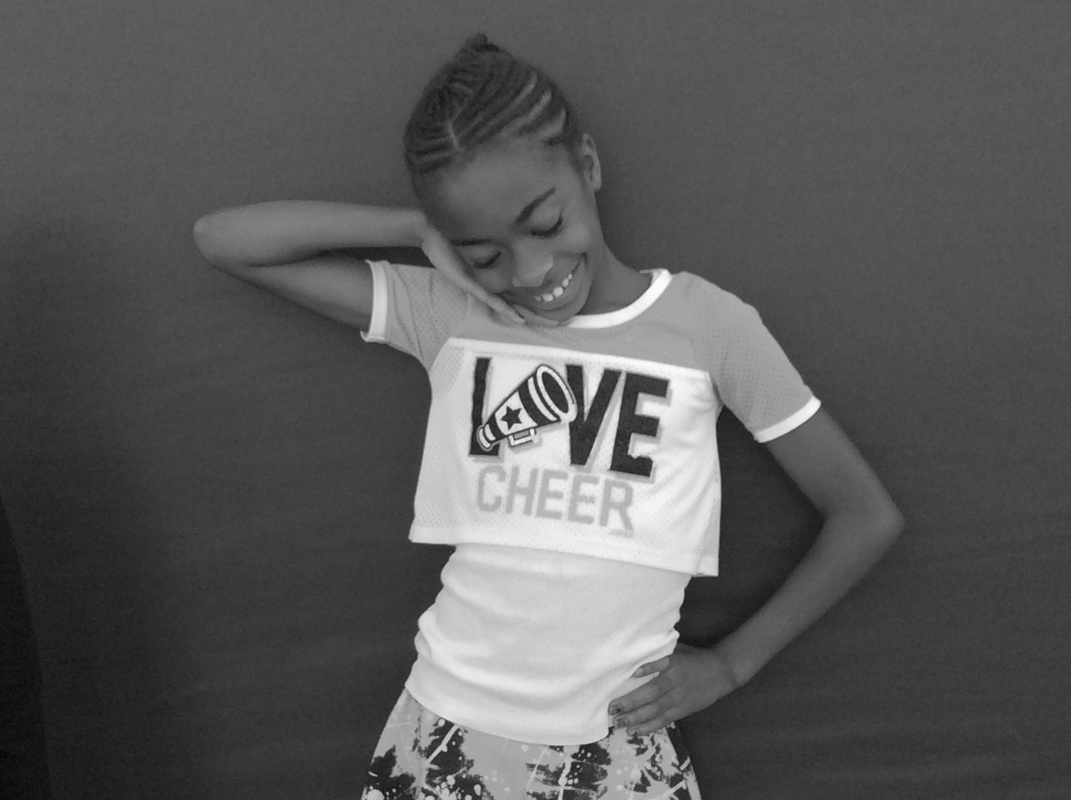
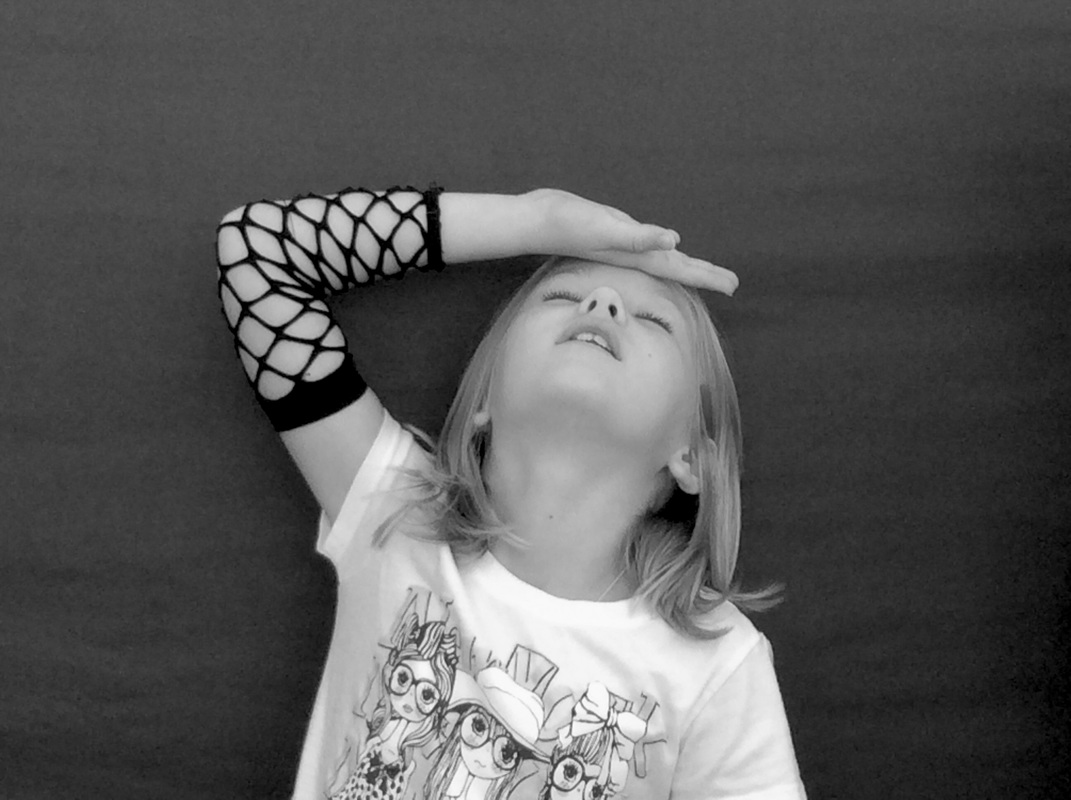
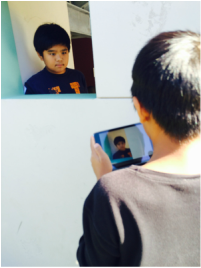
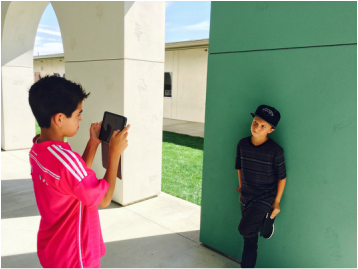
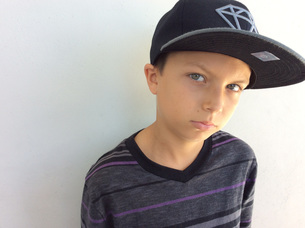
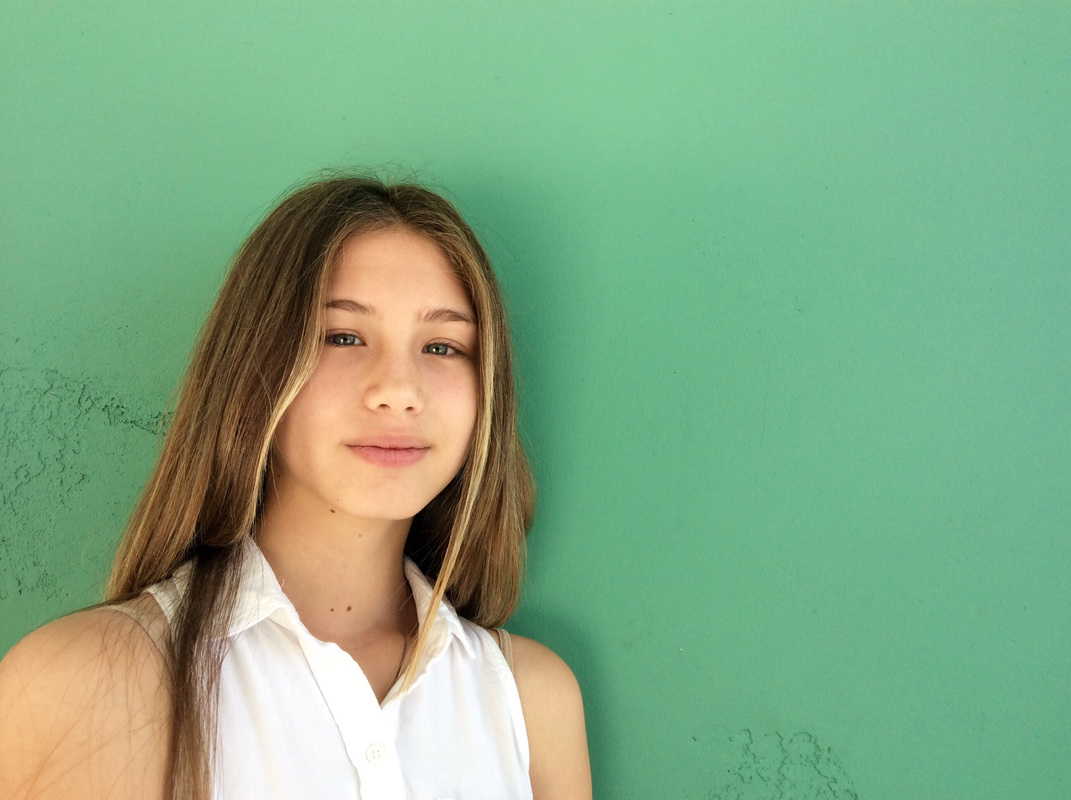
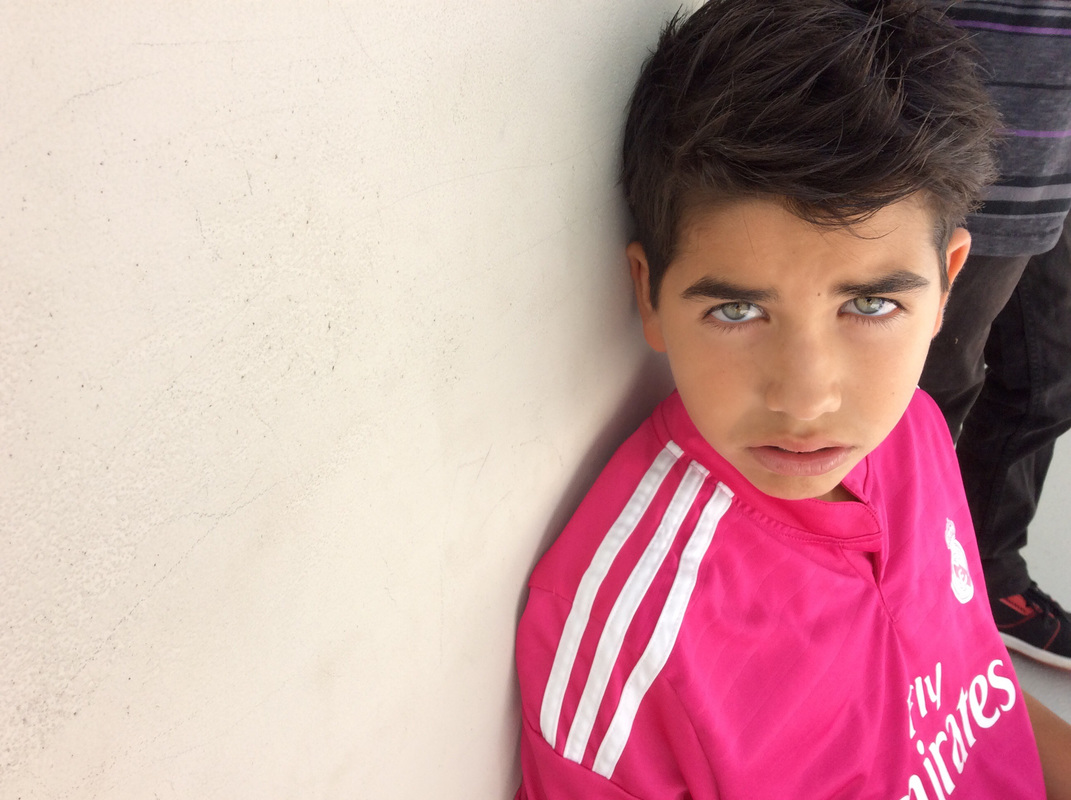
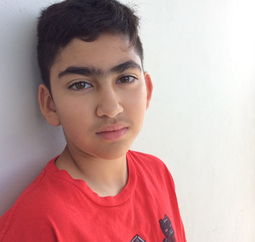
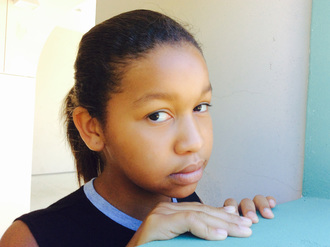
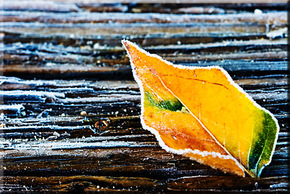
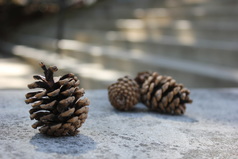
As the first half of the year comes to end, the VAPA showcase is the perfect time to show off the hard work that all of the students put forth. Even though it was over 2,000 images to hang, the outcome was well worth it! The kids loved learning new photography skills that they can take with them in when they they leave the classroom to use in their travels, their memories with portraiture, and in their creative art through expression of self. 
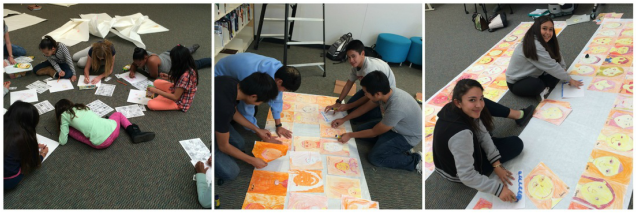
I really enjoyed working with this group of students and can't wait to meet the other half of the school and introduce them to my passion of photography and see what they can bring to the table! Please continue to follow the student work on twitter @huskylens and @photorobos.
0 Comments
With the close of the first set of VAPA classes, I wanted to end on a fun note and bring our learning home with the meaning of photography...the art of writing with light. I promised the students that after they finished their critiques, learned their terminology, and were really able to really speak to their work as a true photographer that they would be able to do a fun and "light" lesson to end the class. We shut the lights out, slowed down our shutter speeds, and took out some flashlights. Well...okay, we didn't actually slow down our shutter speeds because we are using iPads, but we did use apps that I put on the iPads that incorporated the idea of a slow shutter speed. The flashlights had different colored tissue paper taped to them to give off different colors for painting and the creativity was endless. The students were shown several examples on different designs they could do with light drawing as well as the work of a close to home photographer who is known for his light painting, Miss Hinton's cousin, Darren Pearson. The students also watched a time lapse video where they were able to see what additional things you can do with light painting once you have created the image. They were blown away with the work and were eager to get started. http://www.bing.com/videos/search?q=light+painting+video&view=detail&&&mid=45318E0D90BACA9C80B245318E0D90BACA9C80B2&rvsmid=45318E0D90BACA9C80B245318E0D90BACA9C80B2#view=detail&mid=45318E0D90BACA9C80B245318E0D90BACA9C80B2 I explained that light writing is typically done in either a pitch black room and/or with a tripod and that our images aren't going to necessarily turn out like the ones in the example images, but that we could still have fun with it. I challenged them to draw something with the flashlights rather than just swirl them aimlessly around in the air. Most of them thought the task was going to be simple until they got started. They didn't realize that blindly drawing in the air is harder than it sounds. Regardless, the students had a blast and embraced the challenge! Here are some of their images that turned out... So many kids loved it, they may be asking you to buy the app. It's called slow shutter and it only costs $1.99. If you have a camera with manual settings, just set the shutter to 30 seconds or longer or if it has a bulb setting, you can put it on that and you should be good to go. You will have to adjust the f-stop accordingly but start at 5.6 and take some test shots. Follow student work on twitter @photorobos and @huskylens Photographers not only have to think about their subject matter, but they have to decide how they want to "shoot" it. They have to portray their image in a way that speaks to the subject in the best possible way and tells a story from the view that they see it and/or they want their viewers to see it when they look at their final piece of work. This week students had the opportunity to practice with different perspectives and see how their photographs changed when they moved their camera from bird's eye view (shooting from up high and looking down) and worm's view (shooting from down low looking up). They were challenged to look at their surroundings from a different level of eyesight so their subject became enlarged or shrunk depending on the vantage point. Kindergartners were paired up and took on the role of "the bird" and "the worm" and actually got on the ground as "the worm" so they can see what a worm would see. Their partner was "the bird" and and they would shoot pictures of "the bird's" shoes or shoot up with the camera pointing upward so their partner would look like a huge giant. The "birds" would stand above their "worms" and would hold their camera high in the air shooting down. Their subject then appears smaller then it would if they were shooting from a worm's eye view. Here are some of their images. Don't forget to follow both Camarena and Hedenkamp students' work on twitter @photorobos and @huskylens Of course they all love to share their images afterward and give feedback. This is a great way to improve on their skill by receiving constructive feedback and being inspired by other photographers' work. The upper grades had the opportunity to play with forced perspective in which they created an optical illusion by using the foreground and background of the image. By placing an image in the foreground, it will appear bigger and the image in the background will appear smaller. Forced perspective is a technique which employs optical illusion to make an object appear farther away, closer, larger or smaller than it actually is. They had an absolute blast but also struggled quite a bit to get their composition just right. They really had to rely on the communication between their partner/group members but persevered through trial and error. It was great seeing these students in action, and I was so impressed with all the creative poses they had. Again, you can find more images on twitter @photorobos and @huskylens! Students had a blast working on their composition and learning how to improve the look of their image by incorporating leading lines to lead the viewers eye through the image. Leading lines usually start at the bottom of the frame and guide the eye upwards and inwards, from the foreground of the image to the background, typically leading toward the main subject. When leading lines, such as roads, connect the foreground to the background of a scene, they help to create depth and dimensionality which draws the viewer into the image. The students practiced leading lines and using them in their images by having each other stand or sit at the end of a line, getting down low, and tilting the camera in order to have the line lead into their subject. They found lines in manmade objects such as roads, fences, bricks, lamp posts, buildings, doorways, window panes, and lines on the ground throughout the school. In nature, they looked at trees, leaves, tall grass, and rocks amongst other things. The kindergarteners were even able to pull it off with their halloween guys after some trial and error and managed to get some successful shots! I was impressed with the level of focus these students had with this lesson and the end result. This was probably my favorite lesson to teach so far because of the level of engagement and the vast array of images that were coming out of it. The students were so excited to see how the look of the image could be manipulated just by changing the composition and angle.
Don't forget to check out their images daily on twitter! @photorobos @huskylens This week, the students were introduced to a few of the best known portrait photographers known within the medium. They received background knowledge on an artist, looked at work from the photographer, and engaged in a discussion on the craft. The students had the opportunity to work as both photographer and model in which they practiced working together in partners to emulate the unique photographer's style. They used their background knowledge of techniques learned from previous classes to frame their subject and enhance their images and incorporated them into their photo "shoot" while simultaneously taking on the focus of a well known photographer for inspiration in portrait photography. The Kinders and First Graders learned about Annie Leibovitz and her ability to capture one's character through their expression and mood. They loved this lesson since it involved monster mouths (kid adapted of course) and once they found out that she photographed for Disney, they were all ears! The task was that they were given the mouth and they needed to match the expression in their eyes to the mouth. The photographer would choose the mouth and have the model express the mood. For example, if given a scary looking mouth, the photographer would ask, "Give me scary eyes! Open them wide!" They had a blast! First graders also did an art activity where they colored and cut expressions and glued them on a face template. They practiced arranging the pieces of the face, i.e. eyes and mouth, to make different expressions and see how the face changes. They discussed with each other the mood of their face based off expression they created. (See more pics on twitter: @photorobos or @huskylens 2nd-4th Graders were introduced to the amazing Irving Penn, an American photographer known for his fashion photography, portraits, and still lifes. They practiced his simplistic style of black and white photography on a black and white backdrop with a variety of hand poses. They worked on a partnership between the role of the photographer and the model and rotated back and forth emulating Penn's images as they were presented to them. I had the students stand in two lines facing each other with the photographer on one side and the model on the other. I walked down the isle showing one of Penn's images only to the photographer in which he/she had to communicate to his/her model what to do in order to match the image. The photographer was challenged on matching the pose, articulating his/her words, and making adjustments to the model as necessary. The students showed productive struggle as they were challenged with articulating the poses to their models on how they wanted their images to look and what adjustments they needed to make in their hands and expressions and also with their own framing composition and focus. I walked behind and critiqued them on their aesthetics and asked questions while reshowing them the image such as, "Is the subject smiling in Penn's image?" and "Can your image be sharper?" The students were also working on prior learned techniques such as composition, exposure, and focus and now they had a chance to work one on one with a real life subject. Even though some parts of this lesson were a challenge for them, I think they had fun working toward achieving the end goal of "getting the shot" and being in the dark as the model not knowing what the pose was and trying to figure it out. ...and for some free choice posing. Only requirement was that there had to be some hand posing involved in some way. The photographer chose how he/she wanted the subject to pose and showed/communicated to the model the correct stance and adjusted accordingly. To see more images, check them out on twitter: @photorobos and/or @huskylens 5th and 6th grade was a little more on the serious side to photography. They were introduced to Steve McCurry, a phenomenal American Photojournalist who has done work for National Geographic and has won countless awards for his photojournalism and coverage of various wars throughout history. They learned about his purpose of telling a telling a story through photography with his travels to make a difference and the power of imagery across cultures. We focused in on his talented ability to capture the essence of one's soul through their eyes in a photograph and the power that eyes have in everyone. In an interview clip, McCurry speaks about the "Eloquence of the Eyes" and how important eye contact is between subject and photographer in portraiture. They were introduced to his most his most recognized portrait, "Afghan Girl, which was taken in a refugee camp near Peshawar, Pakistan in 1984. The students were challenged to interact with their subject and capture a moment where they felt they really connected with them. I just kept telling them to focus on the eyes! Before hand, I helped them out a bit and gave them some portrait poses they could try such as the 45 degree angle, leaning against a wall, hiding one eye, filling the frame, and using the rule of thirds. Some of this, we had already covered in previous lessons and other content was new to them that they incorporated into this focus lesson. I will say, the students did a good job at this even though this was probably above some of their maturity level, I'm sure. I know they all were dying to do selfies and this is why I chose to do this particular task with them. It wasn't that they couldn't smile, but by sharing the images from Steve McCurry and taking a more a serious approach and from such an amazing photographer, they were able to see that portraiture has a some serious content to it and is more than just selfies than what they are use to. Please keep checking out images and posts on twitter:@photorobos and/or @huskylens
More to come from Hedenkamp next week! Introducing photography into the VAPA curriculum means making sure the kiddos understand the history of photography and how it has evolved over time. We took a look at one of the very first photographs to ever capture a candid shot of people. The silver plated process known as the "daguerreotype" was photographed in 1839 by Louis-Jacques Mande Daguerre and the image appears to be of an empty cityscape although apparently it was full of people when the photograph was taken. This is because at the time, photography exposure capabilities weren't fast enough to capture moving images like they can today and they came out blurred or nonexistent. We compared the daguerreotype image that took 10-15 minutes to make to how fast our cameras and iPhones take pictures today and the kind of images they produce. Lesson #1 in my class is that photography is not simply taking selfies and adding filters! Photography is the art of writing with light and exposing images that can be shared, appreciated, serve a purpose to make a difference, or to express one's personal emotions. We had great discussions about what each person saw or felt when they looked at a series of images. The students had such unique and creative responses and were really getting into it! From abstract photography to story telling with an image, the students were generating ideas and making connections to what they saw in the photographs that were unique and personal to them based on their perspective and background. One of my favorite examples is of a photograph that I chose to include in my slideshow because it had leading lines that I wanted to point out to the students as a technique used in composition. A student's response was astounding as he said, "It represents to me how people are killing nature because it looks like the powerlines are going into the trees and killing the trees and the trees look dead." Everyone saw the image in a new way and the discussion took off from there. Kids continue to amaze me everyday! Another example of our discussions were how photography is more than simply pointing a camera at a subject and clicking the shutter button but carefully selecting the angle, composition, and subject and presenting it in a way that is intriguing to the eye. For example, we looked at a simple subject of a cat and discussed how we could take that average picture and turn it into a piece of art by changing the vantage point, paying attention to detail, and utilizing light to make the viewer go "wow!" when they look at it. The students went from liking the first image of the cat and thinking it was "cute" to being amazed by the second. I told them, "This is the response I want when people look at your pictures. You should feel proud of what you created because you worked hard at demonstrating what you saw in something, showing how you felt about your subject, and expressing what you wanted your viewer's to see as well. I emphasized to them to think about their shots before they started clicking away and to pretend like they were shooting with film with a limited number of shots. The students looked at various types of negative film strips and positive slides and we discussed how photography is the art of writing with light both digitally and through an analog process. Going back to thinking about their images before snapping the shutter button and editing later, they see that with film photography you get what you you get and there is no "Instagram" to add a filter to enhance the image. They are learning the limitations and benefits from film and digital photography from the constraints of how many images there are per roll of film vs. the unlimited shots they are use to with their iPhones. I am encouraging them to shoot their images how they want them to look "in camera" so that they don't feel they have to edit them later. They also engaged in a gallery walk and were exposed to the different genres of photography. We discussed the career paths of a professional photographer, their favorite styles from sports to portraiture, and what they were most interested to learn about in this class. I am so excited to bring photography to the Camarena and Hedenkamp Elementary kids. I can't wait to see what creative images these future photographers have in store!
I have been extremely impressed with what my students have been able to do with these iPads, let me tell you! It's definitely not about expensive equipment or fancy photo editing software that is making these photos what they are but the vision of the students and how they are applying the skills they are learning. (check out images on twitter) Week 2: The students learned how to compose a shot by using framing and rule of thirds to draw the viewer's eye in which makes for a much more appealing image. Framing uses the surroundings in the environment to create a frame for the subject. WHAT IS THE RULE OF THIRDS? The rule of thirds involves mentally dividing up your image using 2 horizontal lines and 2 vertical lines, as shown below. You then position the important elements in your scene along those lines, or at the points where they meet. The idea is that an off-centre composition is more pleasing to the eye and looks more natural than one where the subject is placed right in the middle of the frame. It also encourages you to make creative use of negative space, the empty areas around your subject. (photography mad.com) Week 3: Texture in photography to make a 2D image become 3D! Week 4: A different way to compose a shot: Students learn about symmetry and asymmetry as it is used in photography. Unlike the rule of thirds where they were expected to place their subject off to the side, they are now expected to find things in their surroundings that are symmetrical and place their subject in center. They are beginning to understand how photographers choose their composition based off of personal preference and subject matter and how altering it affects the image. They looked for symmetry and asymmetry in architecture such as the archways and pillars and in nature with plants and trees. This week was a challenge for the students when identifying symmetrical vs. asymmetrical objects but with practice and working in partners, they persevered. They worked on their attention to detail with their subjects and with backgrounds, and they had to evaluate if their overall image was successful in the sense of achieving the task and still serving as a meaningful piece of art for them. |
Mrs. ChathamDigital Media Arts Photography Teacher Archives
December 2015
Categories |