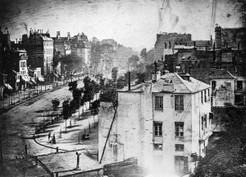
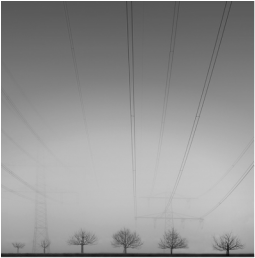
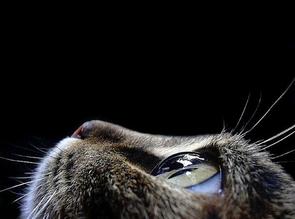
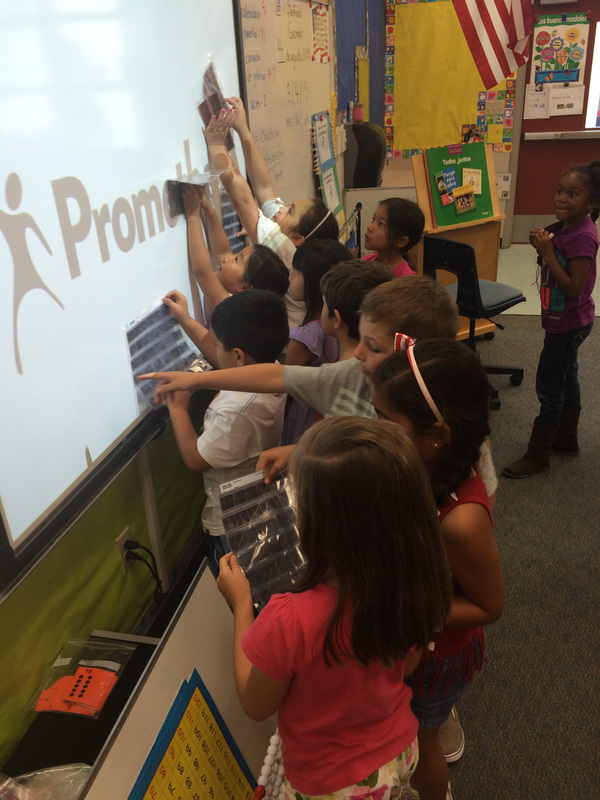
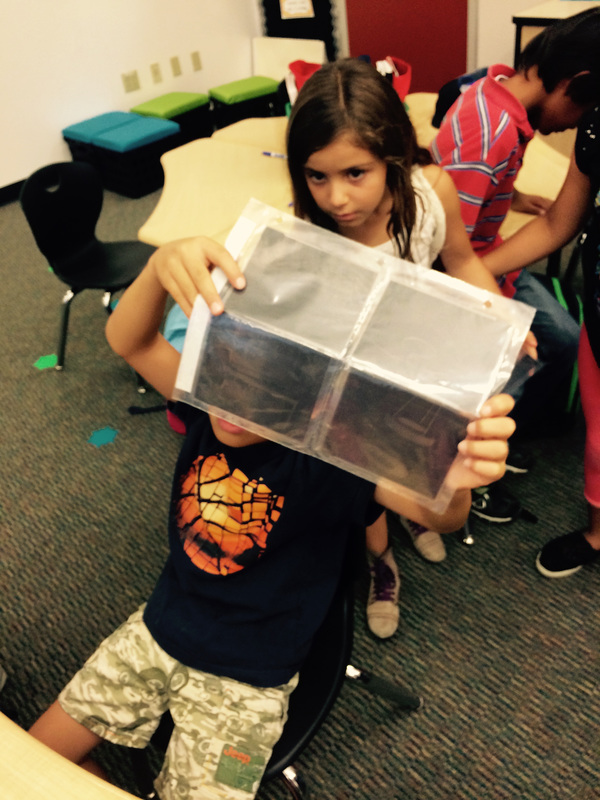
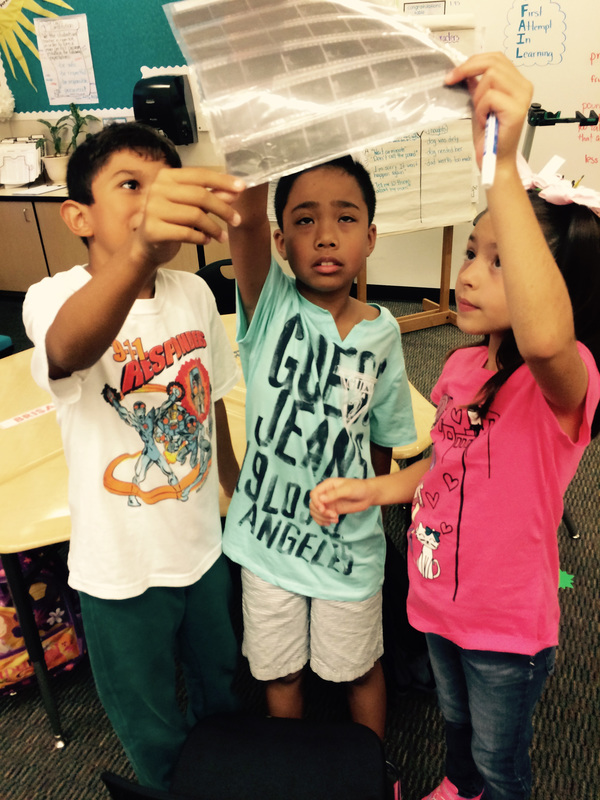
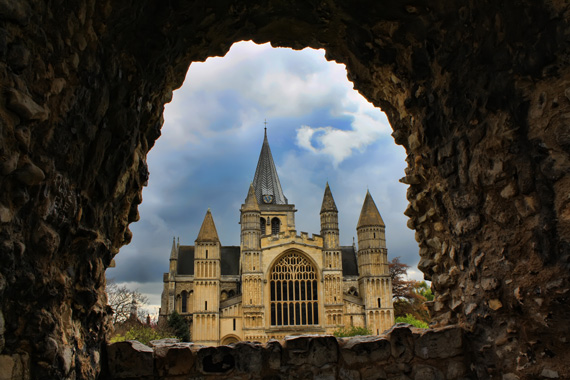
Lesson #1 in my class is that photography is not simply taking selfies and adding filters! Photography is the art of writing with light and exposing images that can be shared, appreciated, serve a purpose to make a difference, or to express one's personal emotions. We had great discussions about what each person saw or felt when they looked at a series of images. The students had such unique and creative responses and were really getting into it! From abstract photography to story telling with an image, the students were generating ideas and making connections to what they saw in the photographs that were unique and personal to them based on their perspective and background. One of my favorite examples is of a photograph that I chose to include in my slideshow because it had leading lines that I wanted to point out to the students as a technique used in composition. A student's response was astounding as he said, "It represents to me how people are killing nature because it looks like the powerlines are going into the trees and killing the trees and the trees look dead." Everyone saw the image in a new way and the discussion took off from there. Kids continue to amaze me everyday!
Introducing photography into the VAPA curriculum means making sure the kiddos understand the history of photography and how it has evolved over time. We took a look at one of the very first photographs to ever capture a candid shot of people. The silver plated process known as the "daguerreotype" was photographed in 1839 by Louis-Jacques Mande Daguerre and the image appears to be of an empty cityscape although apparently it was full of people when the photograph was taken. This is because at the time, photography exposure capabilities weren't fast enough to capture moving images like they can today and they came out blurred or nonexistent. We compared the daguerreotype image that took 10-15 minutes to make to how fast our cameras and iPhones take pictures today and the kind of images they produce. Another example of our discussions were how photography is more than simply pointing a camera at a subject and clicking the shutter button but carefully selecting the angle, composition, and subject and presenting it in a way that is intriguing to the eye. For example, we looked at a simple subject of a cat and discussed how we could take that average picture and turn it into a piece of art by changing the vantage point, paying attention to detail, and utilizing light to make the viewer go "wow!" when they look at it. The students went from liking the first image of the cat and thinking it was "cute" to being amazed by the second. I told them, "This is the response I want when people look at your pictures. You should feel proud of what you created because you worked hard at demonstrating what you saw in something, showing how you felt about your subject, and expressing what you wanted your viewer's to see as well. I emphasized to them to think about their shots before they started clicking away and to pretend like they were shooting with film with a limited number of shots. The students looked at various types of negative film strips and positive slides and we discussed how photography is the art of writing with light both digitally and through an analog process. Going back to thinking about their images before snapping the shutter button and editing later, they see that with film photography you get what you you get and there is no "Instagram" to add a filter to enhance the image. They are learning the limitations and benefits from film and digital photography from the constraints of how many images there are per roll of film vs. the unlimited shots they are use to with their iPhones. I am encouraging them to shoot their images how they want them to look "in camera" so that they don't feel they have to edit them later. They also engaged in a gallery walk and were exposed to the different genres of photography. We discussed the career paths of a professional photographer, their favorite styles from sports to portraiture, and what they were most interested to learn about in this class. I am so excited to bring photography to the Camarena and Hedenkamp Elementary kids. I can't wait to see what creative images these future photographers have in store!
0 Comments
I have been extremely impressed with what my students have been able to do with these iPads, let me tell you! It's definitely not about expensive equipment or fancy photo editing software that is making these photos what they are but the vision of the students and how they are applying the skills they are learning. (check out images on twitter) Week 2: The students learned how to compose a shot by using framing and rule of thirds to draw the viewer's eye in which makes for a much more appealing image. Framing uses the surroundings in the environment to create a frame for the subject. WHAT IS THE RULE OF THIRDS? The rule of thirds involves mentally dividing up your image using 2 horizontal lines and 2 vertical lines, as shown below. You then position the important elements in your scene along those lines, or at the points where they meet. The idea is that an off-centre composition is more pleasing to the eye and looks more natural than one where the subject is placed right in the middle of the frame. It also encourages you to make creative use of negative space, the empty areas around your subject. (photography mad.com) Week 3: Texture in photography to make a 2D image become 3D! Week 4: A different way to compose a shot: Students learn about symmetry and asymmetry as it is used in photography. Unlike the rule of thirds where they were expected to place their subject off to the side, they are now expected to find things in their surroundings that are symmetrical and place their subject in center. They are beginning to understand how photographers choose their composition based off of personal preference and subject matter and how altering it affects the image. They looked for symmetry and asymmetry in architecture such as the archways and pillars and in nature with plants and trees. This week was a challenge for the students when identifying symmetrical vs. asymmetrical objects but with practice and working in partners, they persevered. They worked on their attention to detail with their subjects and with backgrounds, and they had to evaluate if their overall image was successful in the sense of achieving the task and still serving as a meaningful piece of art for them. |
Mrs. ChathamDigital Media Arts Photography Teacher Archives
December 2015
Categories |