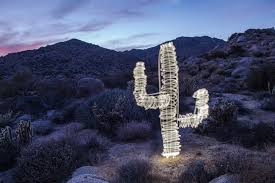
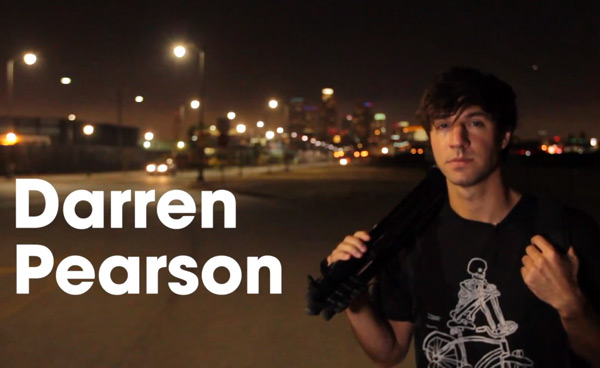
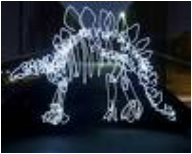
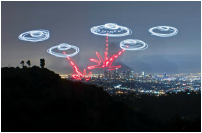
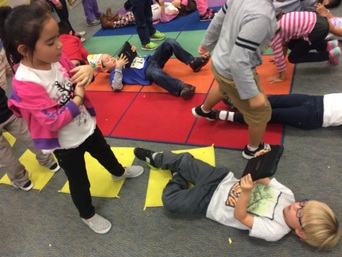
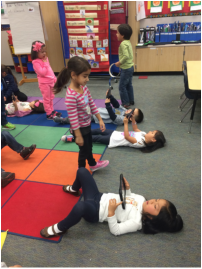
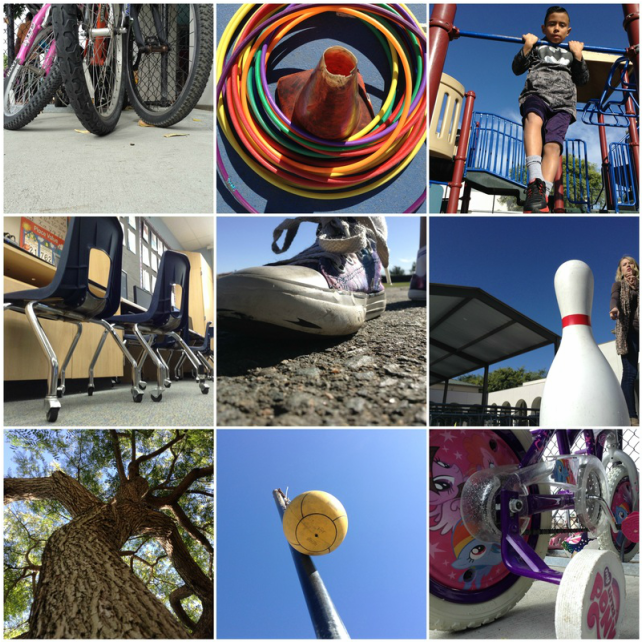
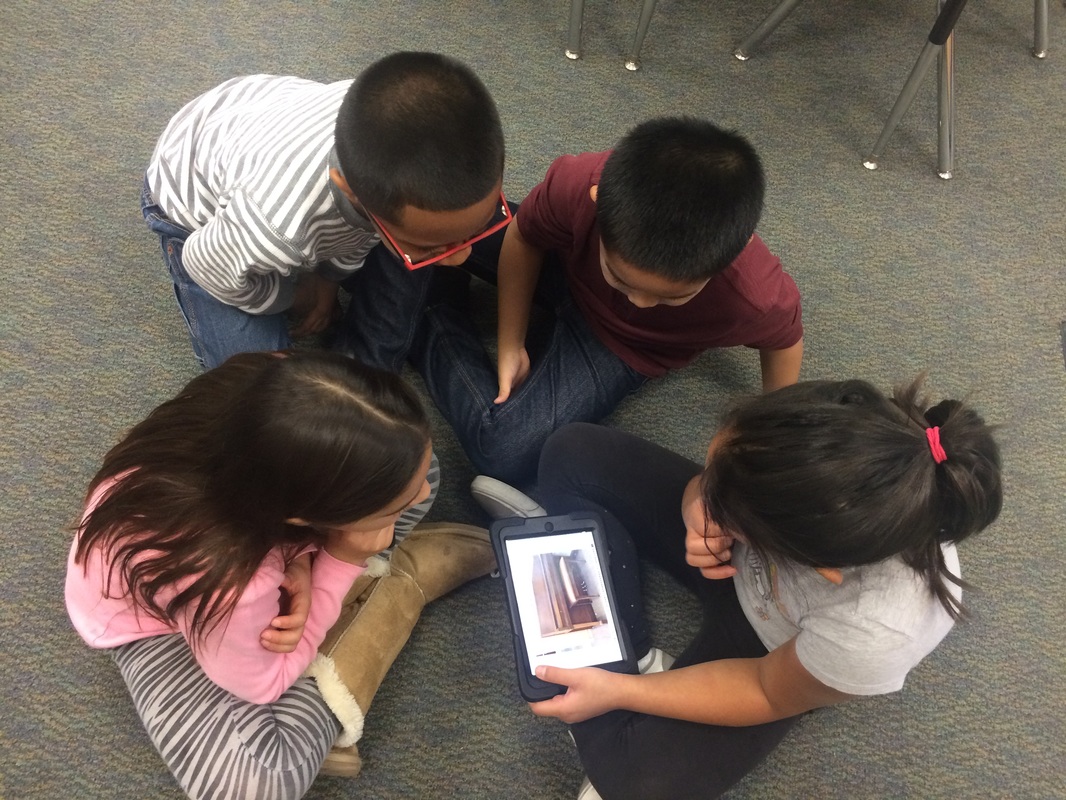
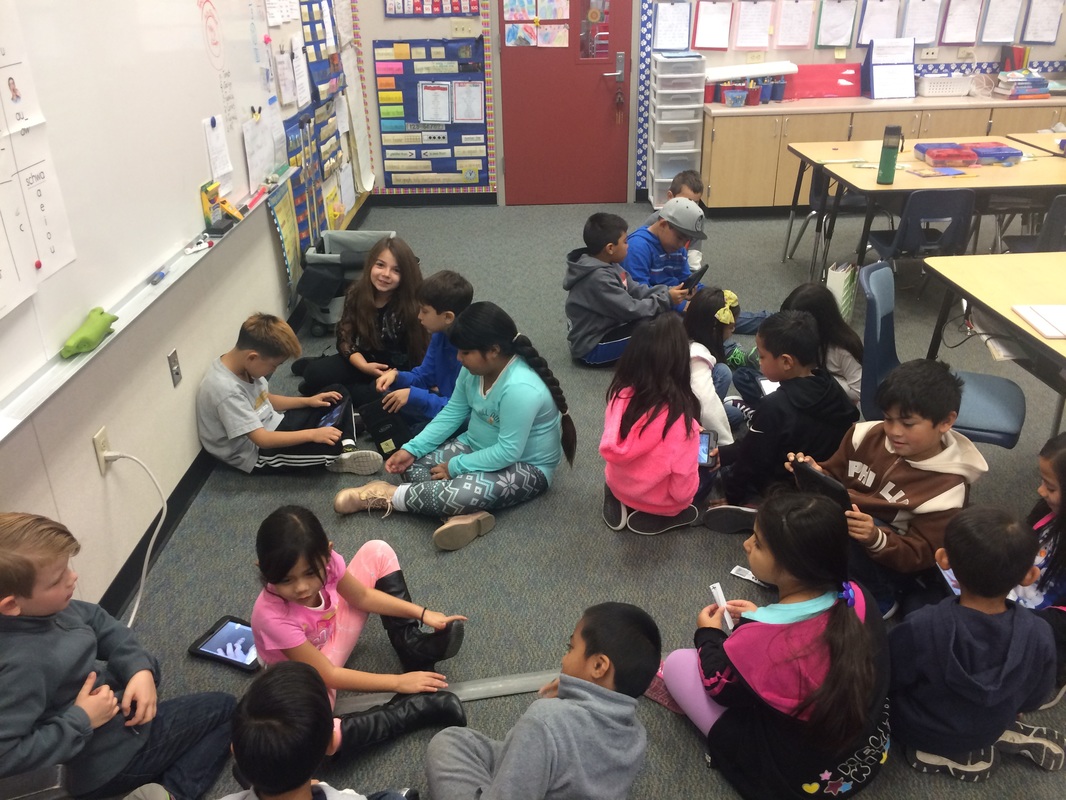
With the close of the first set of VAPA classes, I wanted to end on a fun note and bring our learning home with the meaning of photography...the art of writing with light. I promised the students that after they finished their critiques, learned their terminology, and were really able to really speak to their work as a true photographer that they would be able to do a fun and "light" lesson to end the class. We shut the lights out, slowed down our shutter speeds, and took out some flashlights. Well...okay, we didn't actually slow down our shutter speeds because we are using iPads, but we did use apps that I put on the iPads that incorporated the idea of a slow shutter speed. The flashlights had different colored tissue paper taped to them to give off different colors for painting and the creativity was endless. The students were shown several examples on different designs they could do with light drawing as well as the work of a close to home photographer who is known for his light painting, Miss Hinton's cousin, Darren Pearson.
 |  |  |
 |  |  |
The students also watched a time lapse video where they were able to see what additional things you can do with light painting once you have created the image. They were blown away with the work and were eager to get started.
http://www.bing.com/videos/search?q=light+painting+video&view=detail&&&mid=45318E0D90BACA9C80B245318E0D90BACA9C80B2&rvsmid=45318E0D90BACA9C80B245318E0D90BACA9C80B2#view=detail&mid=45318E0D90BACA9C80B245318E0D90BACA9C80B2
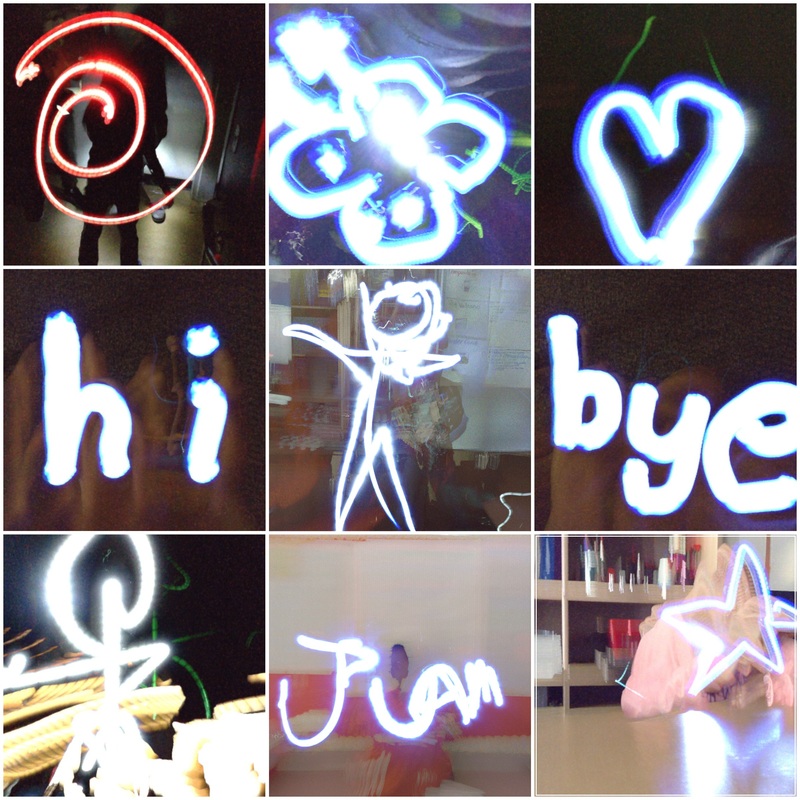
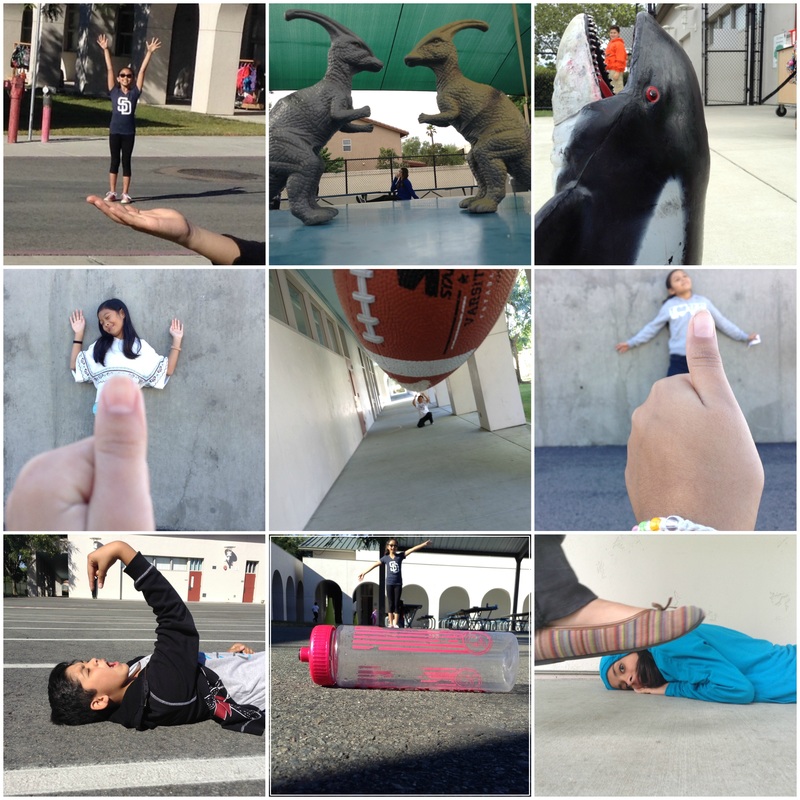
I explained that light writing is typically done in either a pitch black room and/or with a tripod and that our images aren't going to necessarily turn out like the ones in the example images, but that we could still have fun with it. I challenged them to draw something with the flashlights rather than just swirl them aimlessly around in the air. Most of them thought the task was going to be simple until they got started. They didn't realize that blindly drawing in the air is harder than it sounds. Regardless, the students had a blast and embraced the challenge!
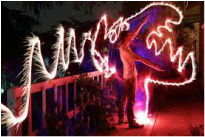
Here are some of their images that turned out...
http://www.bing.com/videos/search?q=light+painting+video&view=detail&&&mid=45318E0D90BACA9C80B245318E0D90BACA9C80B2&rvsmid=45318E0D90BACA9C80B245318E0D90BACA9C80B2#view=detail&mid=45318E0D90BACA9C80B245318E0D90BACA9C80B2
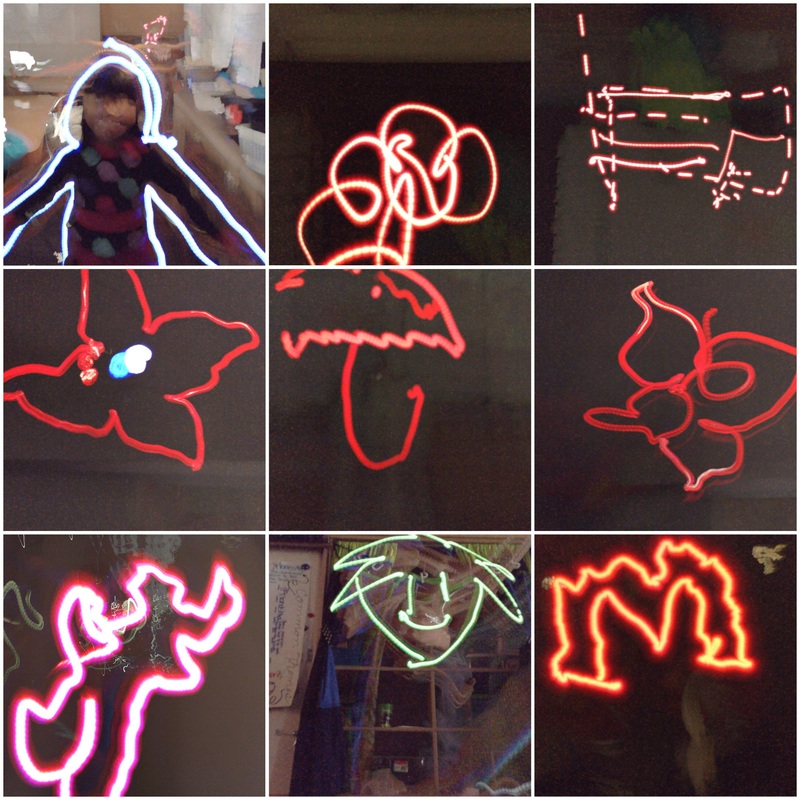
I explained that light writing is typically done in either a pitch black room and/or with a tripod and that our images aren't going to necessarily turn out like the ones in the example images, but that we could still have fun with it. I challenged them to draw something with the flashlights rather than just swirl them aimlessly around in the air. Most of them thought the task was going to be simple until they got started. They didn't realize that blindly drawing in the air is harder than it sounds. Regardless, the students had a blast and embraced the challenge!
Here are some of their images that turned out...
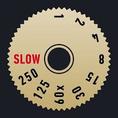
So many kids loved it, they may be asking you to buy the app. It's called slow shutter and it only costs $1.99. If you have a camera with manual settings, just set the shutter to 30 seconds or longer or if it has a bulb setting, you can put it on that and you should be good to go. You will have to adjust the f-stop accordingly but start at 5.6 and take some test shots.
Follow student work on twitter @photorobos and @huskylens
Follow student work on twitter @photorobos and @huskylens
 RSS Feed
